Goal
This project started as an assignment for my Engineering 1101 class at Michigan Technological University. The assignment was to create a system that could take in data from a sensor and provide an output based on that data.
Key Features
- Controlable over the internet.
- Able to show current outdoor temp based on Weather.gov
- Able to set routines (In Progress)
Technical Details
This smart thermostat is made from a Raspberry Pi, Arduino Uno,
DHT11, and a 28BYJ-48 Stepper motor. The Raspberry Pi acts as the
brain of the system by enabling access to the internet, controlling
the web interface, and managing any recording of data. The Arduino
Uno handles all of the control to the physical hardware and keeps
its own control loop to get the room to the correct temperature.
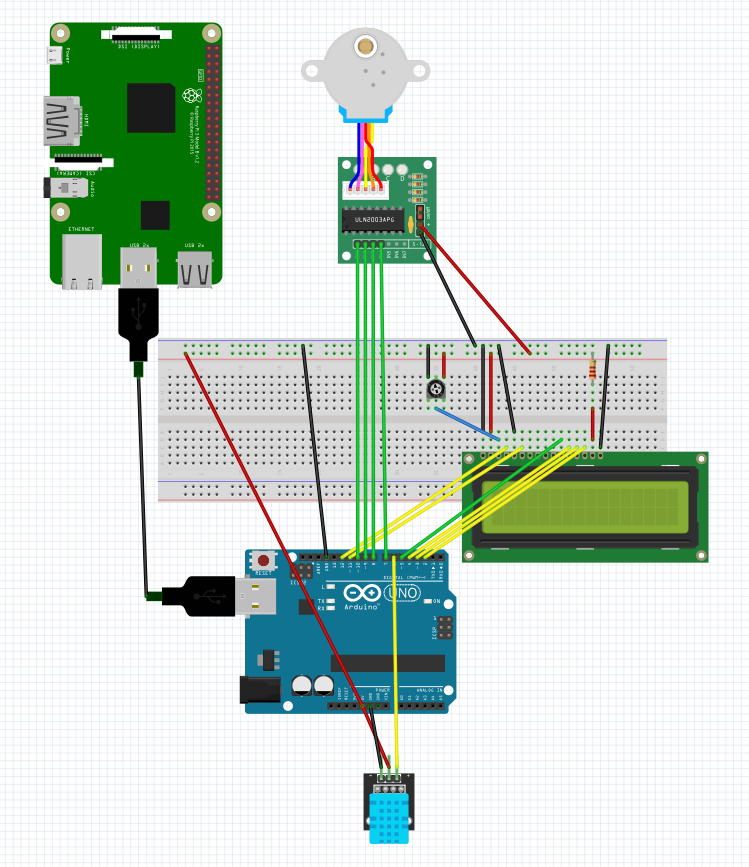
When the system is connected the Raspberry Pi will establish a Serial Connection to the Arduino. This connection is what allows the two devices to communicate and send data back and forth. Once this connection is established the Raspberry will send the default set point and current outdoor temperature. Once the Arduino has this information it will find the indoor temperature from the DHT11 and decide if the heat should be turned on. In the future there will hopefully be different levels of heat and cooling. In the current version the Arduino updates the recorded temperature once every second and will adjust the heat setting accordingly.
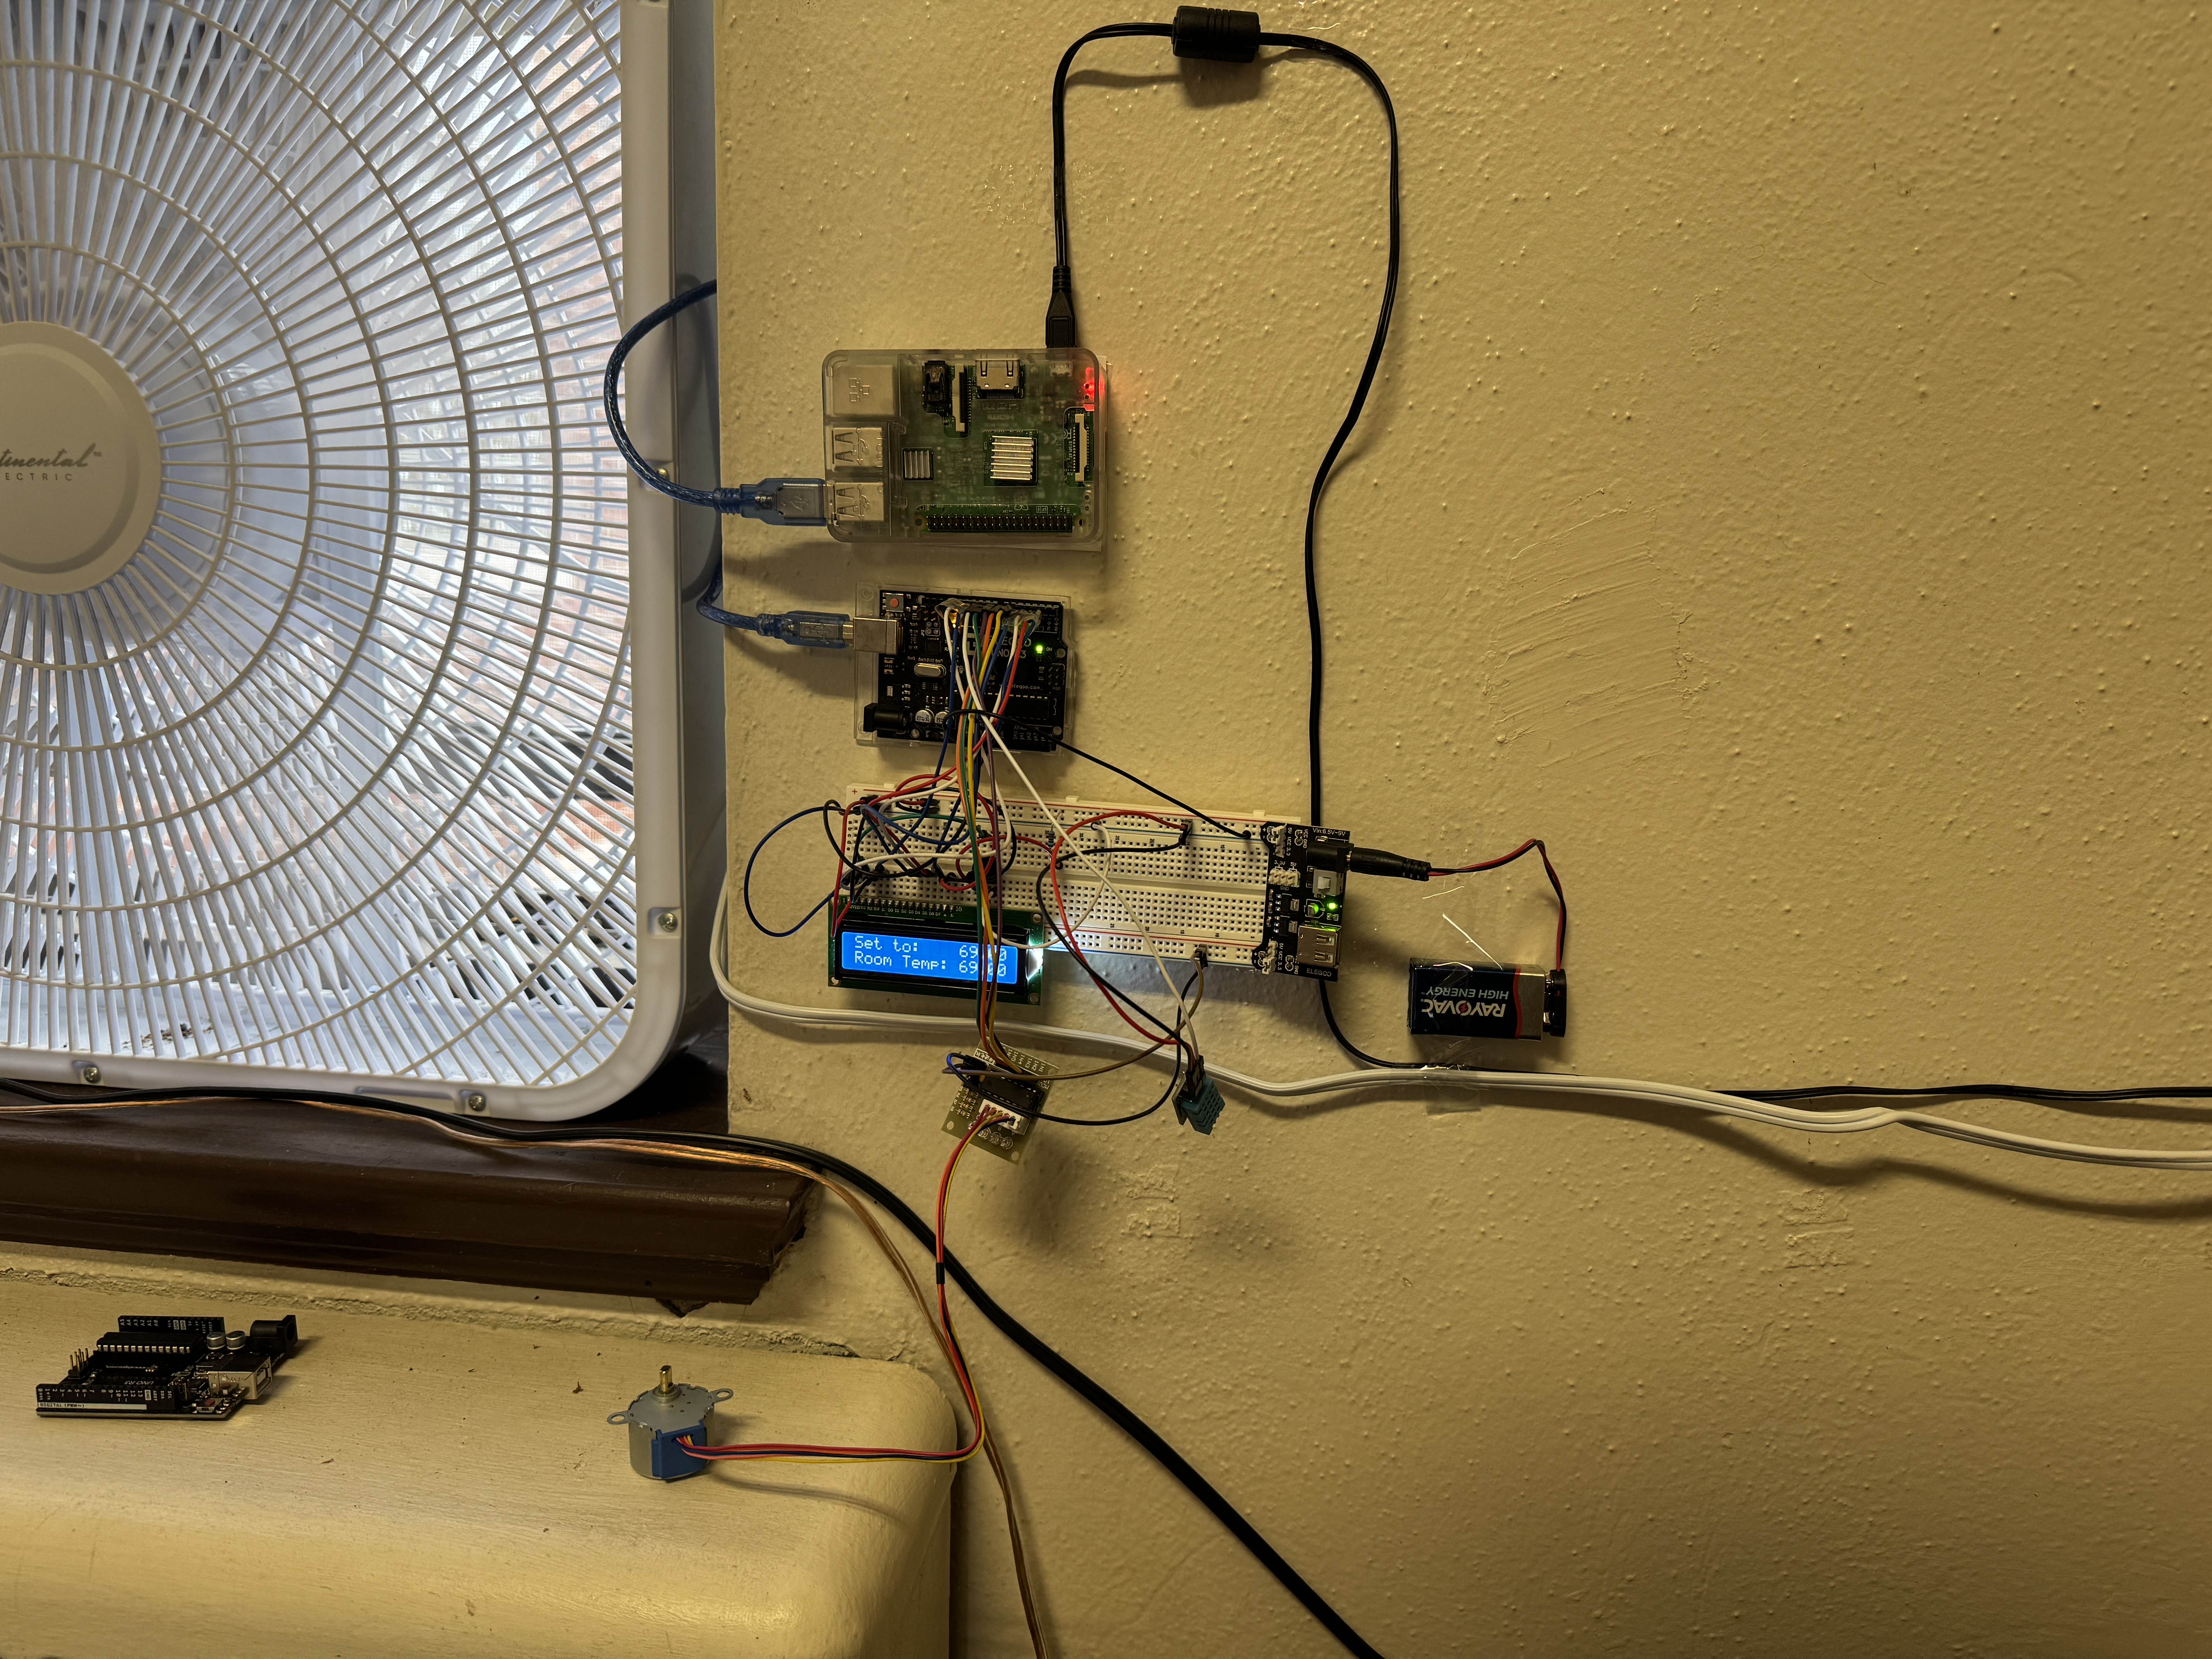
The picture above shows the full system when it was taped to my dorm room wall. At this point in the project we were having to collect 100 data points for the assignment. In order to collect this data I had written another script that would trigger the Raspberry pi to collect all of the data from the Arduino. This data included:
- Room Temp
- Set Temp
- Radiator Valve Status (On/Off)
- Uptime of the system
- Outdoor Temp
All of this data would get written to a CSV file where it could later be called by part of the web interface for the professor to look through our work.
Screenshots or Media

Include a brief caption or description of the image.
How to Use
Provide instructions on how to use the project, access it, or interact with it. Include links to live demos or repositories if applicable.